Positioning objects
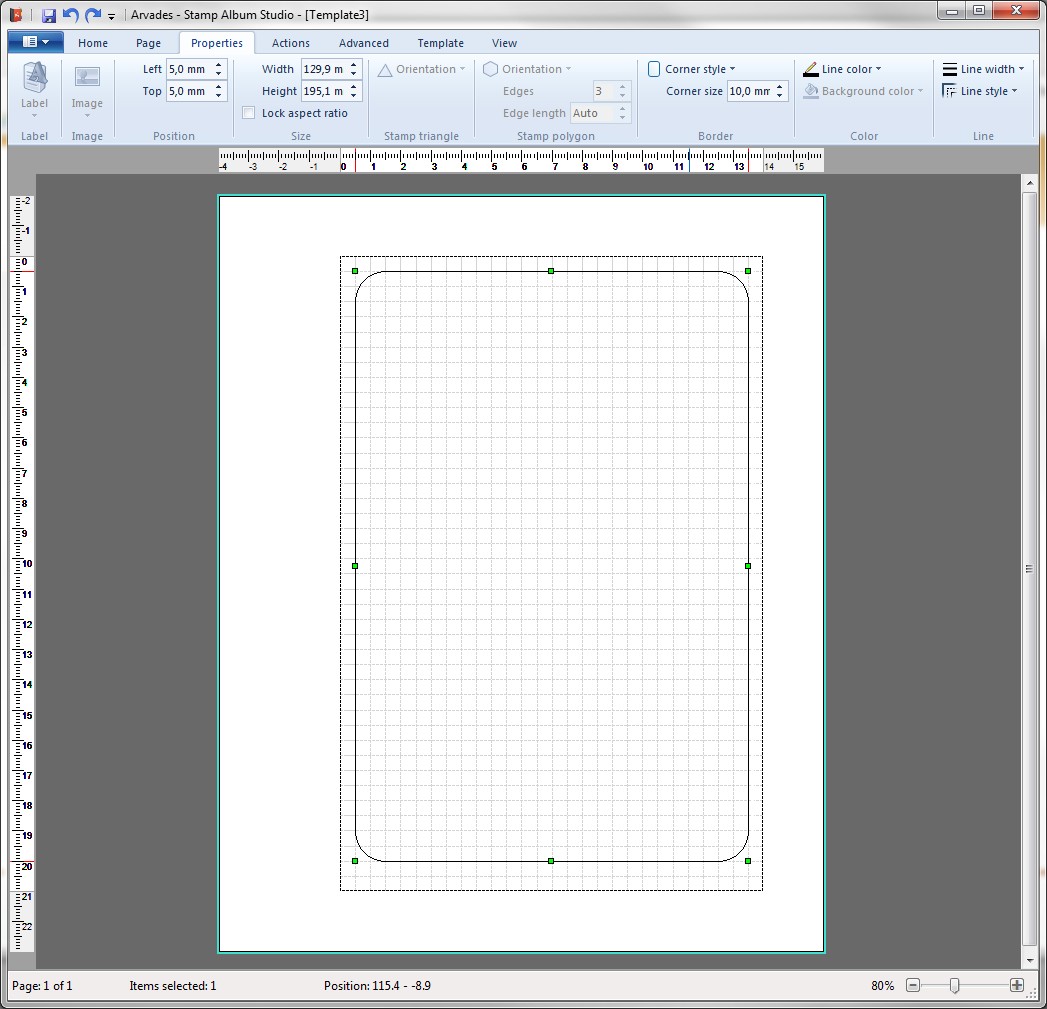
We will now draw objects on the template. We start with a border on position 5mm, 5mm. Its width will be 130mm and its height will be 195mm. Then we go to the Ribbon Tab page "Properties". We adjust the line width, corner style and corner width and if necessary also the position and size:
The page looks like this:
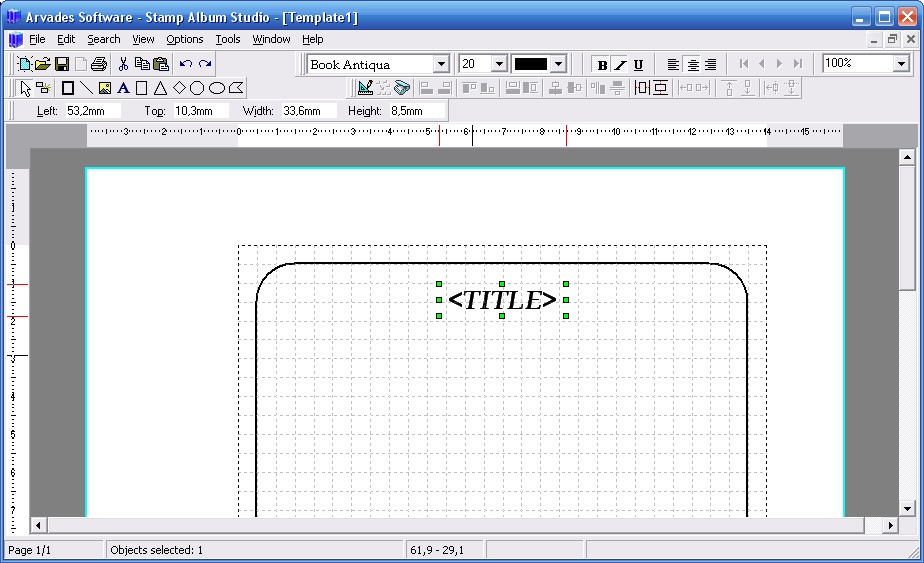
Then we add a title to the page via the Ribbon Tab page "Actions" then Insert and Insert title. With the mouse we put the title in the right position. With the help of Ribbon Tab page "Home" the font: Book Antiqua, pt. 20, Bold and Italic. At this moment the title does not have a value yet ("<Title>"). It will get a value as soon as the template is attached to an album.
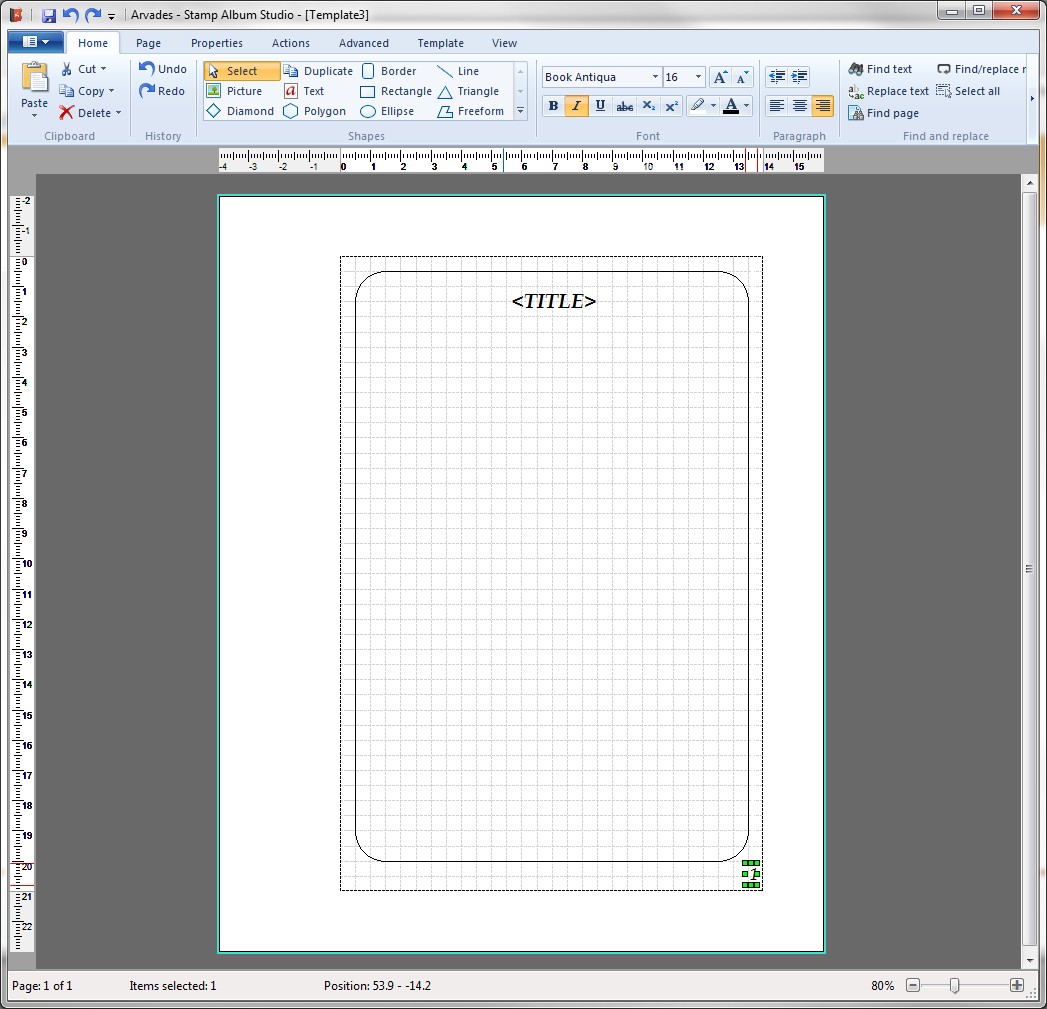
Then we center the title on the page with the menu option Center Horizontal on Ribbon Tab page "Page". Finally we center the text of the title with the button Center Text  . This will keep the text in the middle of the page regardless of the real value of the title of the album.
Finally we put a page number at the bottom right of the page with the Ribbon Tab page "Page", menu option Page numbers and then Bottom of page and Right.
The font size will be Book Antiqua, pt. 16, Italic. The last thing we do is align the text right with the button Align Text Right  . This will prevent the page number to expand past the right border line when the page number field becomes larger if the album gets more pages:
We have now drawn the visible objects of the template. In the next paragraph the invisible settings will be discussed.
Copyright © 2015, Arvades